

How To Set Up A Dial Indicator
Punch indicators will take very precise measurements, from .001", said to be i thousandth of an inch. And this tin get all they downward to .00005", said to be 5 hundred thousandth of an inch.
Merely all this precision tin quickly go out the window, without proper calibration and zeroing procedure. In this detailed, easy to follow guide, nosotros'll expect at:
- How to nothing a dial indicator (the kickoff step).
- How to calibrate a dial indicator for accuracy.
- And how to avert errors when using a punch indicator.
How to zero a dial indicator
Calibrating and setting zip are two completely different process. Many craftsmen and operators often overlook zeroing out dial indicators. The reason for this is that indicators are mostly used for comparative measurements. Whether the measurement is taken from the zero marker or somewhere else on the scale, the only things that matters is the difference from the starting bespeak, to finishing bespeak.
However, neglecting to zero an indicator is a very erroneous practice which should be avoided if at all possible. Since we are calibrating hither every bit well, setting the indicator to zero is our outset social club of business organisation.
The things nosotros will need:
- To consummate this process, we will need a flat surface. Ideally, you will demand a granite plate. But annihilation comparable to that should suffice.
- We will also demand a dial indicator of grade, along with a stand up for it to be mounted on.
Steps for zeroing a dial indicator
- Prep the surface plate, making certain it is complimentary of any lose cloth or other surface contaminant.
- Ensure that the indicator and its fixture is in working society. Brand sure that the tip is free from wear or other contaminants.
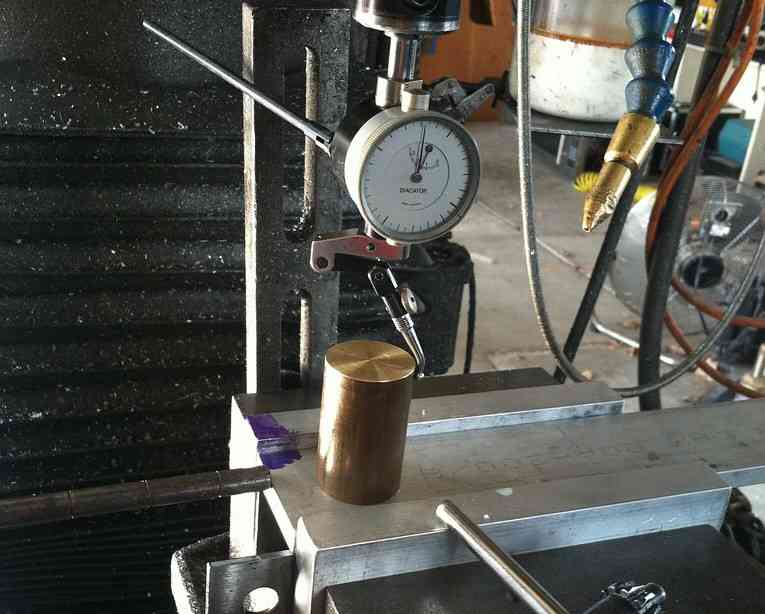
- Position the indicator perpendicular (90°) of the reference programme, which is in our case the granite plate.
- Clamp the fixture then that the tip of the stalk is slightly touching the surface being measured. This is once again referring to the surface plate in our case.
- Unlock the bezel, then plow the dial until the needle reads 0.
- The process of zeroing the indicator is complete. The indicator is at present prepare to zero.
General instruction for calibrating a dial indicator
In that location are several methods for calibrating an indicator. Calibration is a form of comparative measurement by its very nature.
By definition, a scale is essentially measurement and analysis done in reference to a college known standard to eliminate whatsoever possibility for mistake.
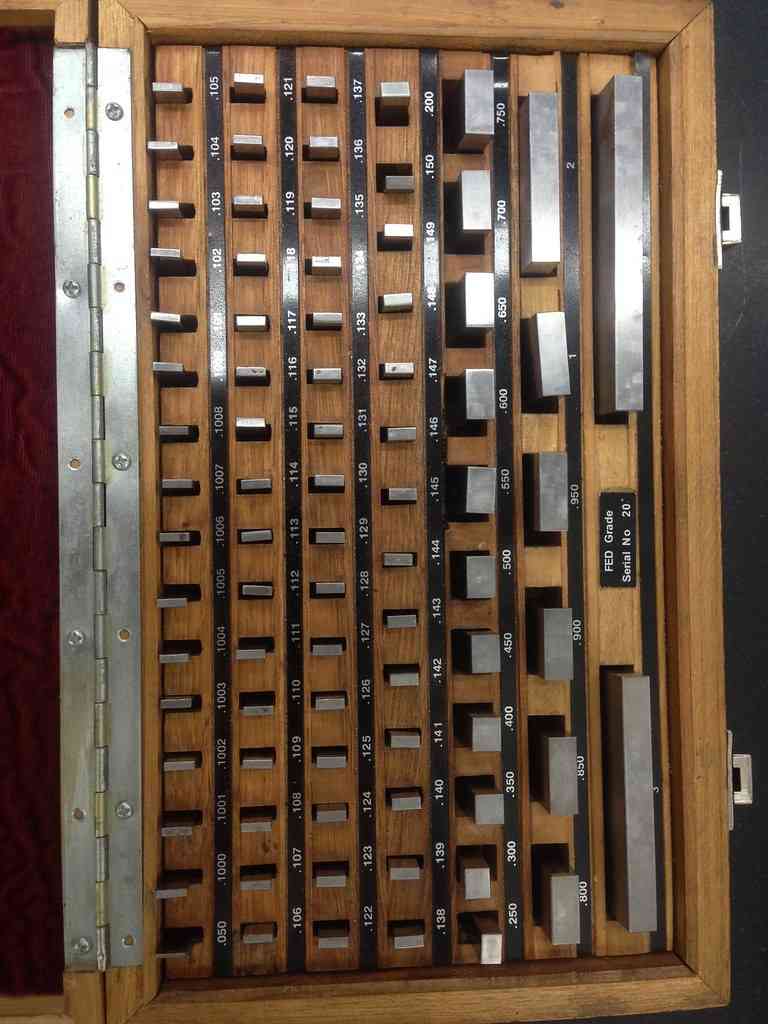
The most common way to perform an indicator calibration is by using a set of precision gauge blocks to measure against. One choice is sending the musical instrument to a professional lab to have it calibrated. Other methods include the use of a micrometer head or specialized instruments to take measurement in reference to the dial indicator.
In this guide, we will use a set of precision judge blocks to perform the calibration.
The dial indicator scale procedures
- It is a practiced idea to ensure that the judge blocks, known here as the master, are clean and in good shape to prevent any errors in the scale. On a different note, the indicator stand should likewise be inspected visually if it is beingness used in the calibration procedure, given that this method is essentially calibrating the entire setup. Complete the steps on how to cypher a dial indicator above if you accept non washed so already. Whatever possible points of failure in the setup should be visually inspected to ensure that everything is working every bit they should. Spindle travel should be shine, nothing should be bent, or loose.
- The next step is to take a serial of measurements. We will do this by placing a gauge block, or a stack of approximate blocks on the surface plate. Lift the indicator spindle, also known every bit the plunger, in lodge to carefully slide the cuff blocks underneath the probe.
- Next, we will demand to write downward the results on a canvas of paper. Every bit a rule, it is recommended to take a measurement on each and every point on the scale. Each measurement should be graded against the main, which is in this case the guess blocks. It is also recommended to take the aforementioned measurements multiple times to mensurate for repeatability. Cutting some corners and skipping points here and there is upwardly for debate. As long as you sympathise that results may be different from 1 graduation to the next.
- Subsequently all the measurements accept been recorded, information technology is time to laissez passer or fail the indicator. If all the readings match the specification of the gauge blocks, then you have a perfectly calibrated indicator. The decision to take or pass up the musical instrument is typically done based on the extent of the deviations, the quality specifications put in place past the manufacturer of the indicator, the specifications for the gauge blocks, and of form, your ain quality standards. Mostly though, if in that location are whatsoever readings more plus or minus one graduation, this normally means something needs repair.
For a cheap budget indicator, it is often easier to but buy a new set. If this is a more expensive proper name brand indicator, information technology may be possible to send it in to the manufacturer for a complete rebuild.
This may all be done for free if it is even so under warranty. This commonly price almost half of what it would cost for a new one if the warranty has expired.
How to avoid errors while using an indicator
When measuring, whether calibrating or doing work on a workpiece, the tip of the indicator must come in direct and consummate contact with the reference point, the surface from which the measurement is being read. The tips will wear out over fourth dimension, which may in turn produce error.
While information technology may suffice to buy a cheap dial indicator, information technology is always recommended to invest in a practiced stand up. The stand will quite literally make or pause it.
Some more painless tips are:
- Keep all instruments and contact surface clean
- Remember to lock the dial bezel with the setscrew
- Invest in quality mounts with precision fixtures
- Don't over tighten setscrews on the arms or anywhere
Departure between dial indicator and dial exam indicator
Dial indicators and dial examination indications are seemingly identical dial gauges in both appearance as well every bit general uses. But a closer wait will revel several meaning distinctions.
A punch test indicator is substantially a meaty version of the dial indicator. The master difference is that on a dial indicator, the probe is mounted on a vertical spring-loaded shaft called the plunger. Whereas the probe on a test indicator pivots vertically on an articulating lever. This kind of mechanism allows most test indicators the ability for measurements to be taken from both the peak and bottom of the probe.
The range of motion is relatively less on a test indicator. However, difference in employ cases between both instruments can be a bit fuzzy. They are both generally used to make comparative measurements.
What sets exam indicators slightly apart is their efficiency in repeated measurements. Test indicators are also improve for measuring relative surface flatness. Because test indicators are more compact, that makes them platonic for machine setup work and other measurements.
Most common uses of punch indicators
Punch indicators, every bit complicated equally they may seem, are just rudimentary dial gauges. Very like to an old analog trunk weight calibration, except many times more precise.
Every bit mentioned previously, indicators are most commonly known as comparative gauges. What this means is that, a part with a known dimension is used to braze the indicator. So, the indicator is oriented tangential to the parts predetermined measurement.
And then subsequent parts or item features of the same dimension can motility to and from the fixture. This allows us to compare differences betwixt the known and the unknown dimensions. Very much similar a template so to speak.
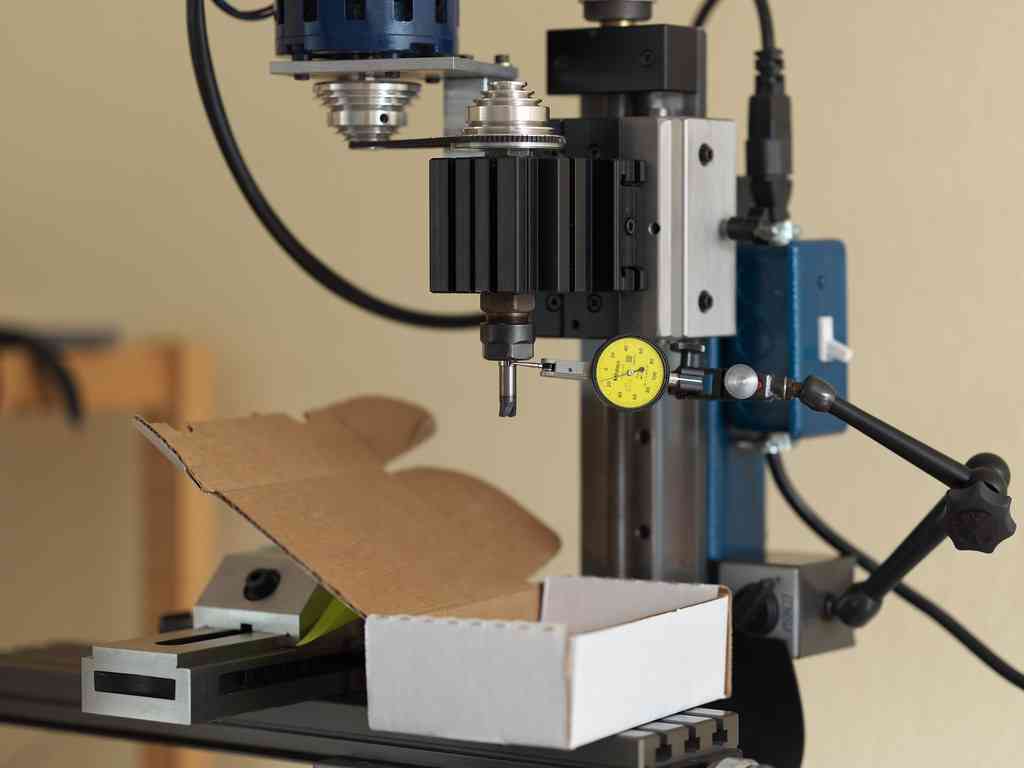
Dial indicators are often used to measure superlative, flatness, roundness and sometimes straight lines. While this may non be the most ideal application, directly lines can be measured with the aid of boosted fixtures. The most common use of a dial indicator in a machine shop is measuring the runout of a lathe spindle.
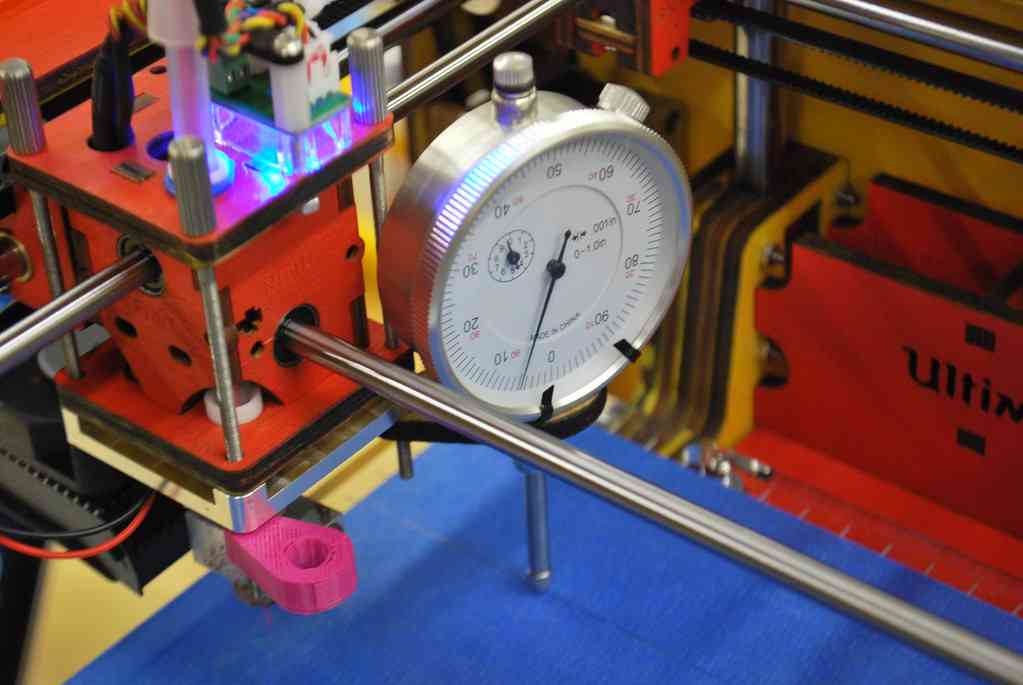
What is a magnetic base punch indicator?
At that place are loads of variations for the dial indicator. Each of the different variations were designed to efficiently perform a very singled-out task. A magnetic base of operations dial indicator, however, is the same variation as the most conventional punch indicators.
Mostly, every aspect of the dial indicator stays the same. Several methods of zipper exist for indicators. The magnetic base is simply an efficient method of fastening.
The base of most indicators will rest on whatsoever flat horizontal surface while measurements are recorded. Magnets are added to the base associates for fastening the indicator at unlike orientation.
Tool makers create clever clamping mechanisms to mount the instrument on various surfaces then that not merely does it clamp on odd shapes, simply likewise spike securely plenty to avoid deflection.
Magnetic base dial indicators are frequently preferred for their convenience and efficiency.

How To Set Up A Dial Indicator,
Source: https://3drific.com/how-to-calibrate-a-dial-indicator/
Posted by: gustfactiven.blogspot.com
0 Response to "How To Set Up A Dial Indicator"
Post a Comment